admin

Happy New Year

Happy New Year

To celebrate the New Year I made a sign out of some scrap 3\16in welded aluminum plate. I inadvertently contaminated it with a 4.5in flap wheel that I had previously used on steel. Therefore, some of the welds are not all not great but. However, this is beside the the point. 

Happy New Years to You and Yours!!

Posted by admin, 0 comments

AHP Alphatig 200x Review

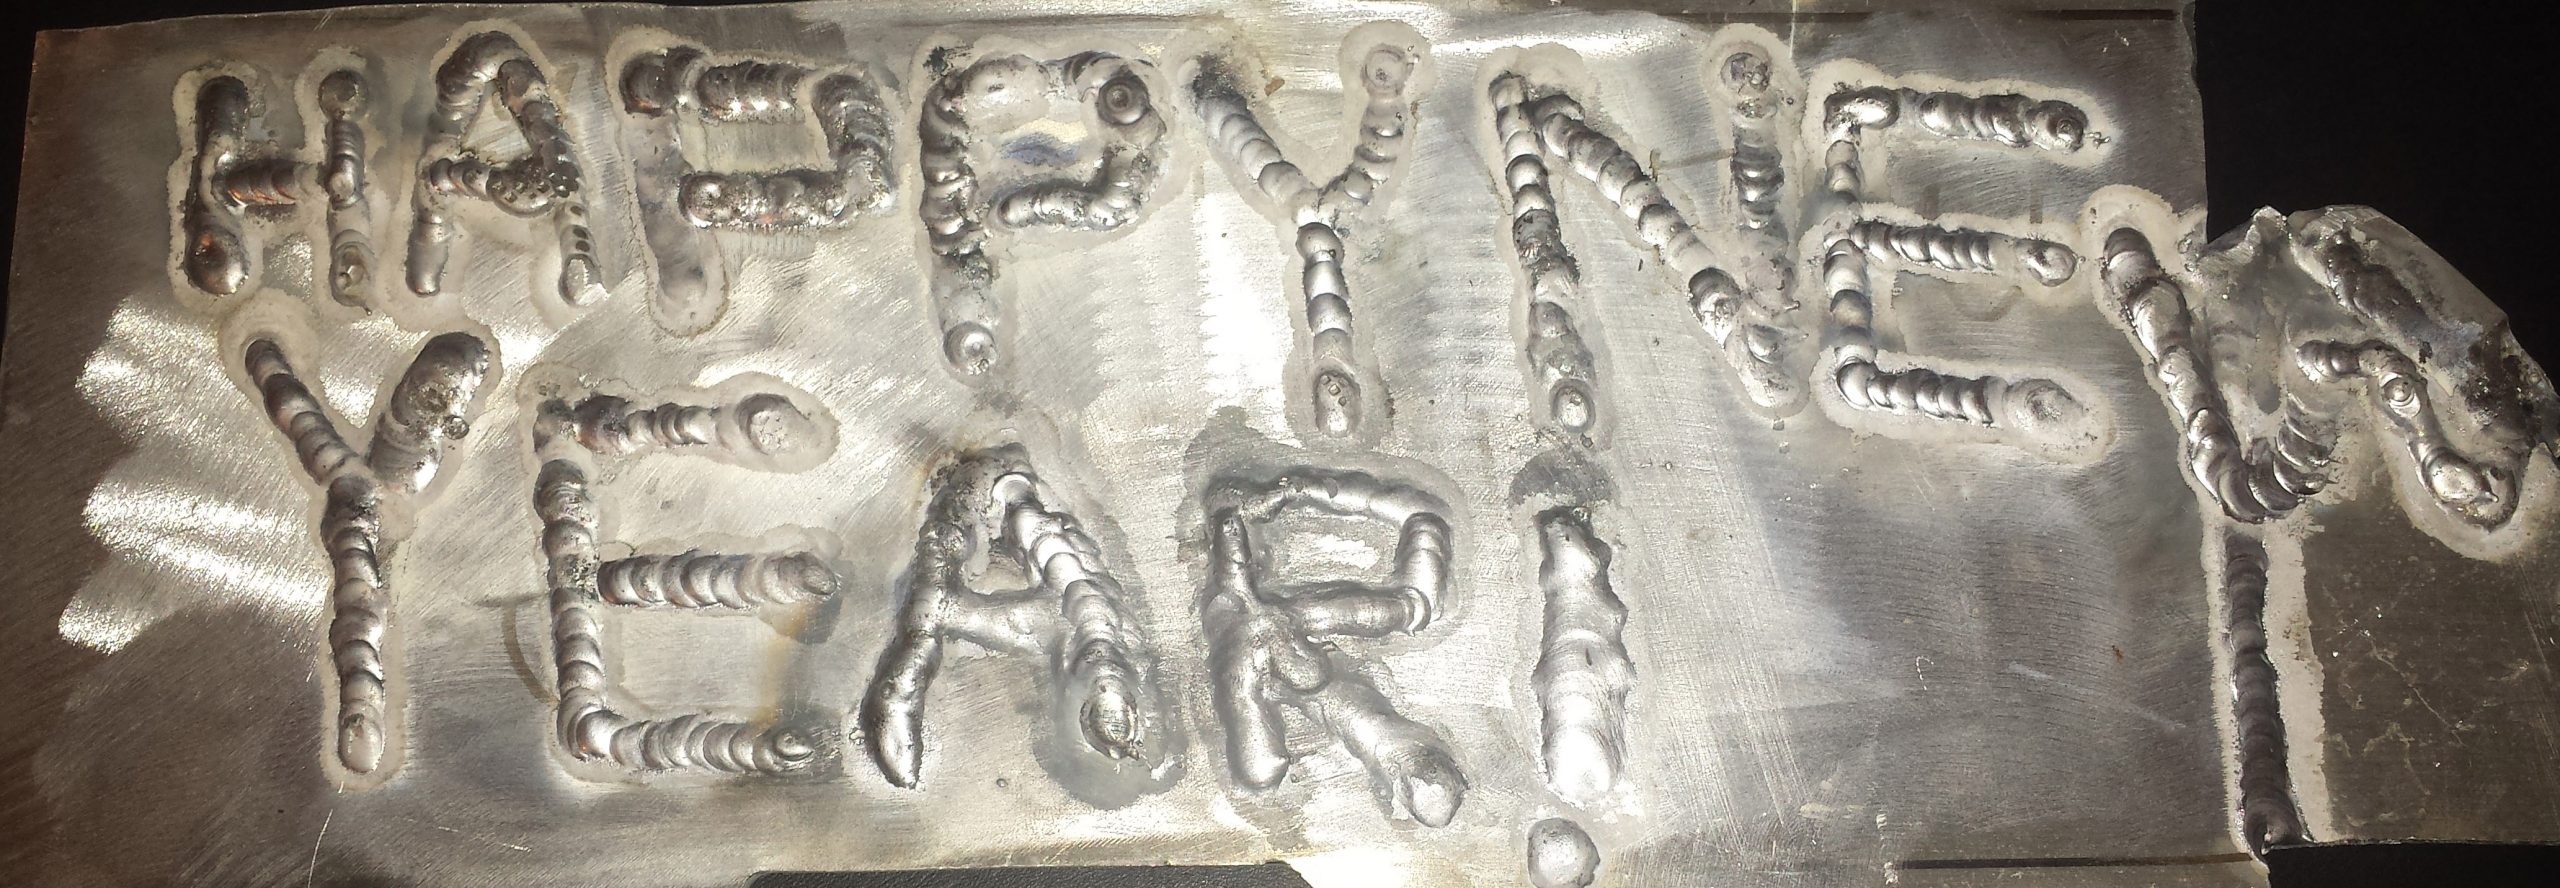
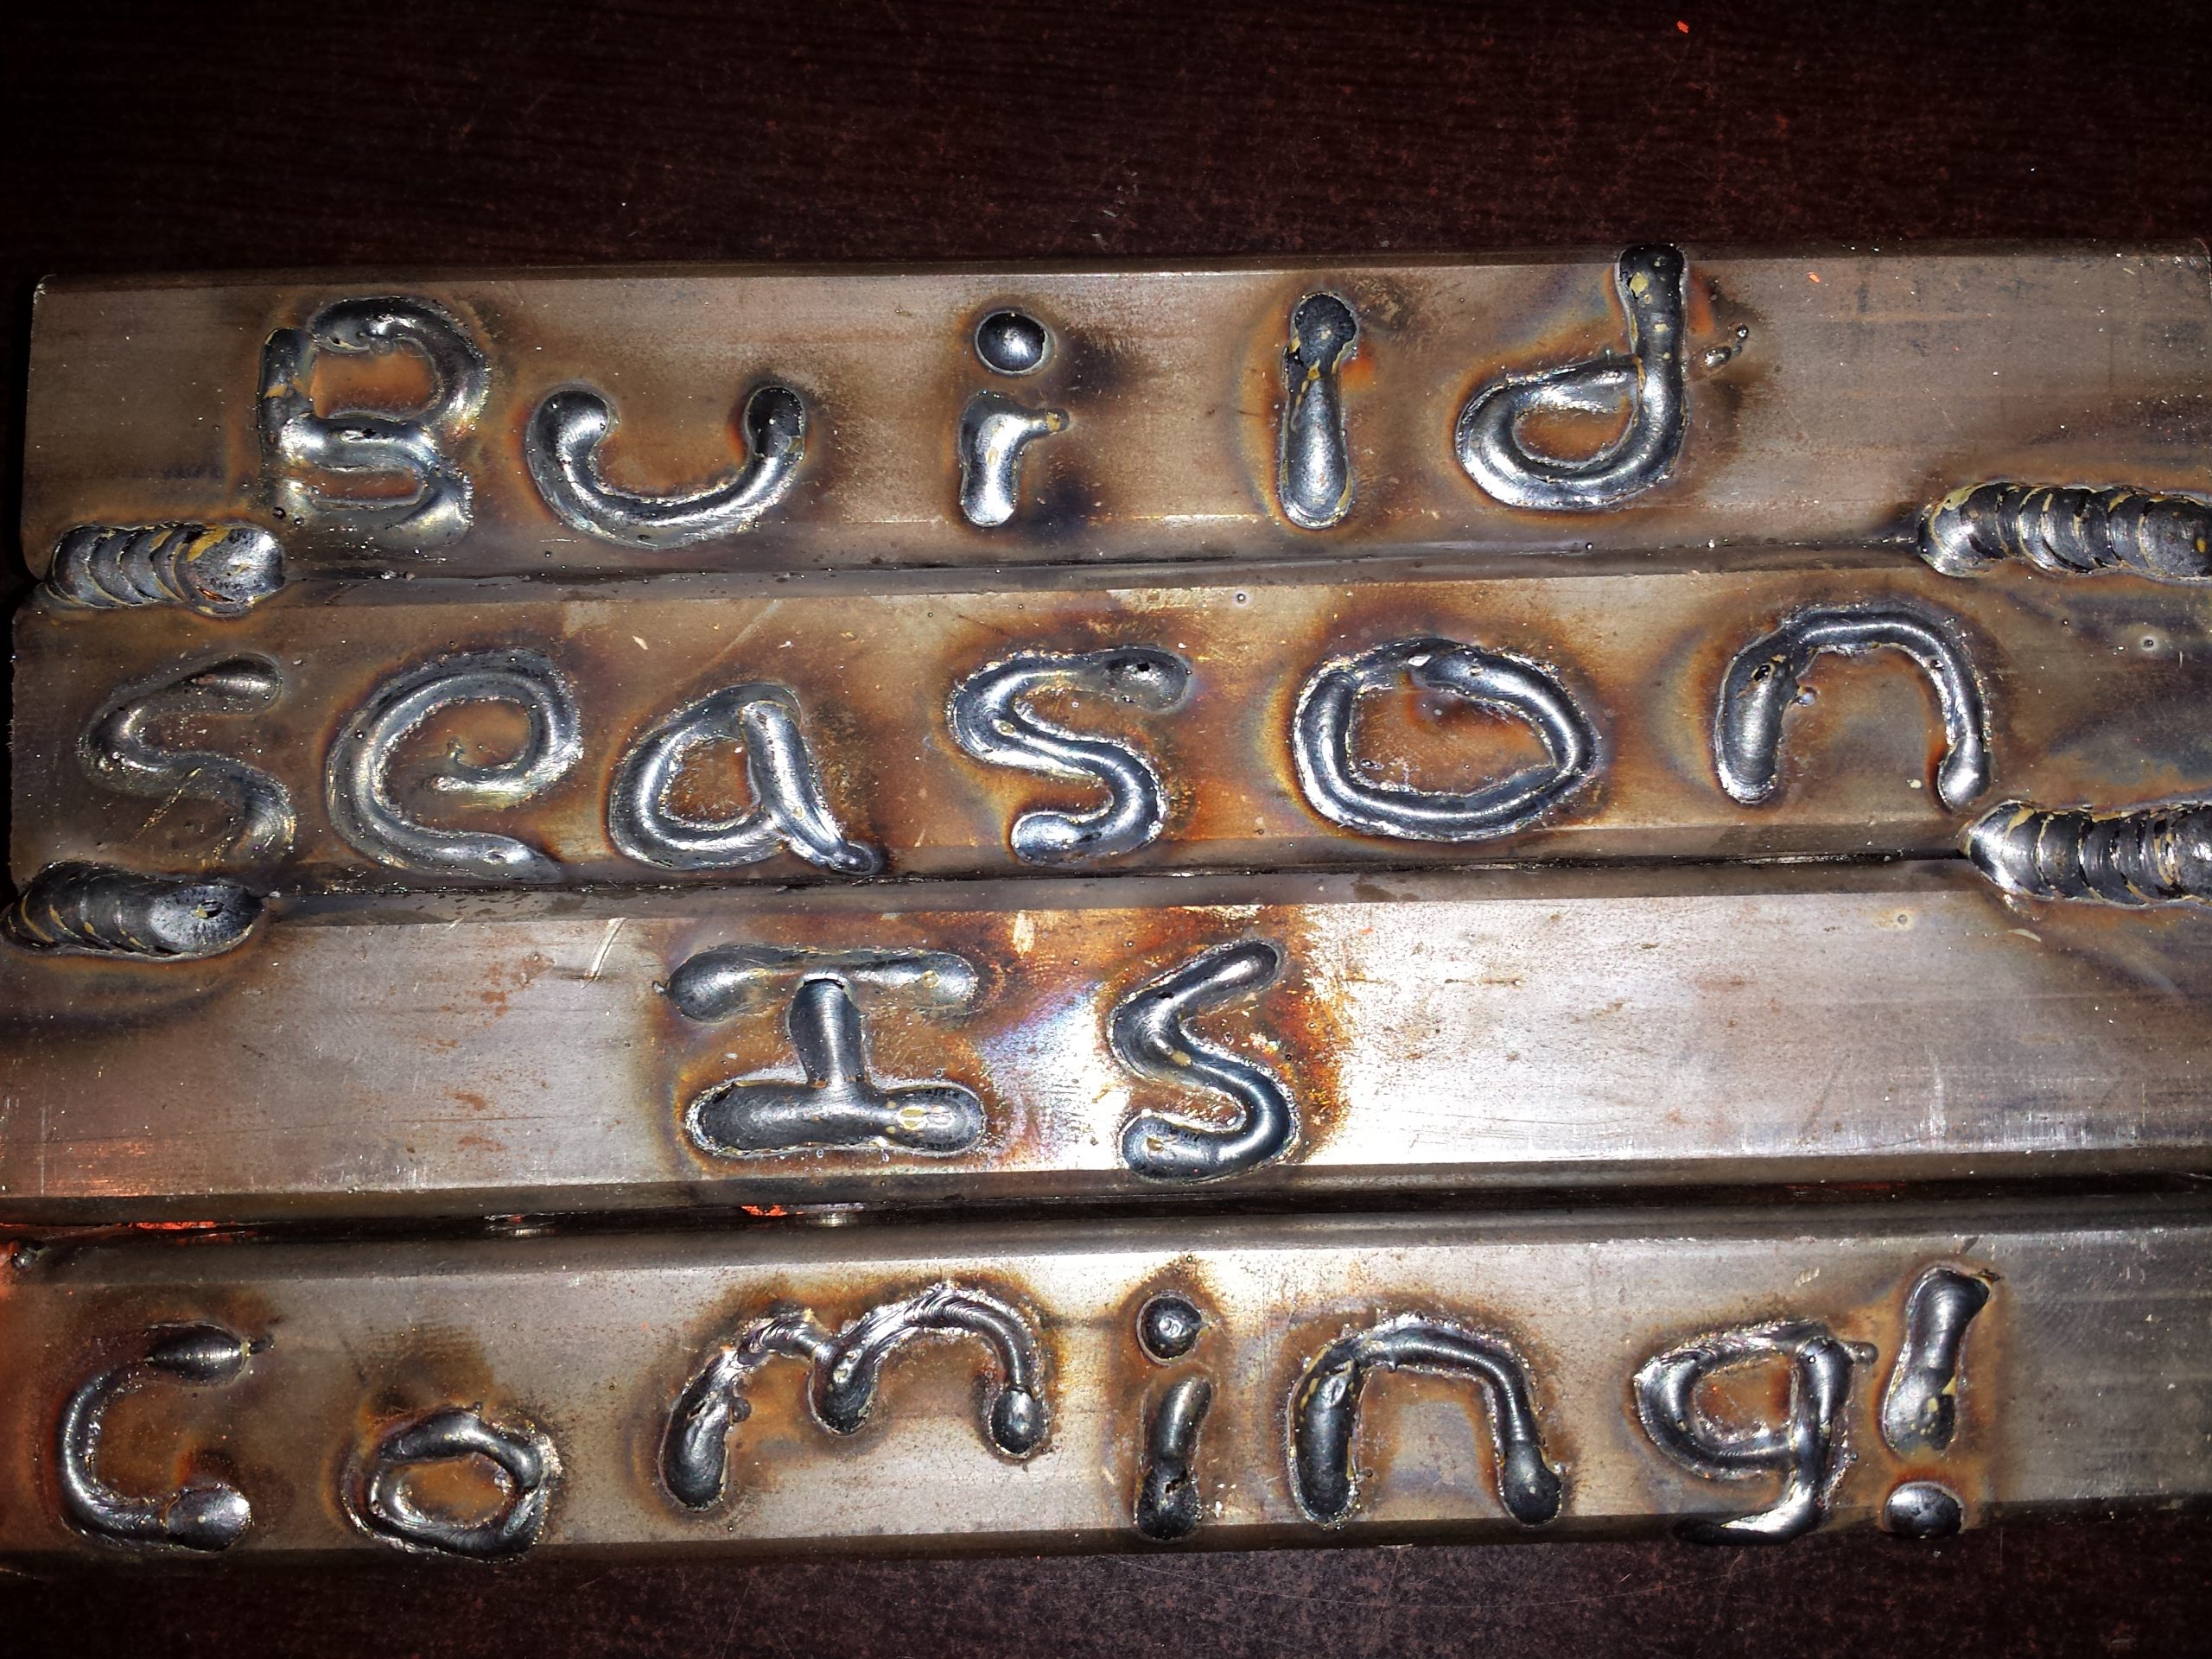
Have you ever wanted to weld aluminum, steel, titanium, stainless steel, and magnesium? If you want to weld these metals you are probably going to need a tig welder. Tig welding, or tungsten inert gas welding is a welding process in which heat is transferred from the torch to the workpiece via a tungsten electrode. When I first got the AHP Alphatig 200x I didn’t have any argon so I used the 75/25 gas from my mig welder. The results were uh…..interesting. I guess you could call them hippie welds. When I was using the 75/25 gas the metal would change into an orangey-green color.

The arc, even with a sharpened and clean tungsten was wild. It was jumping all over the place. The foot pedal wasn’t working for me so the welder was kind of a scratch start tig rig. The foot pedal didn’t seem like it was doing anything even though it was connected and I thought I had my welder set to the proper tig settings. After trying, and failing to hold an arc for a mere 10 seconds I stopped and had to call it a night.

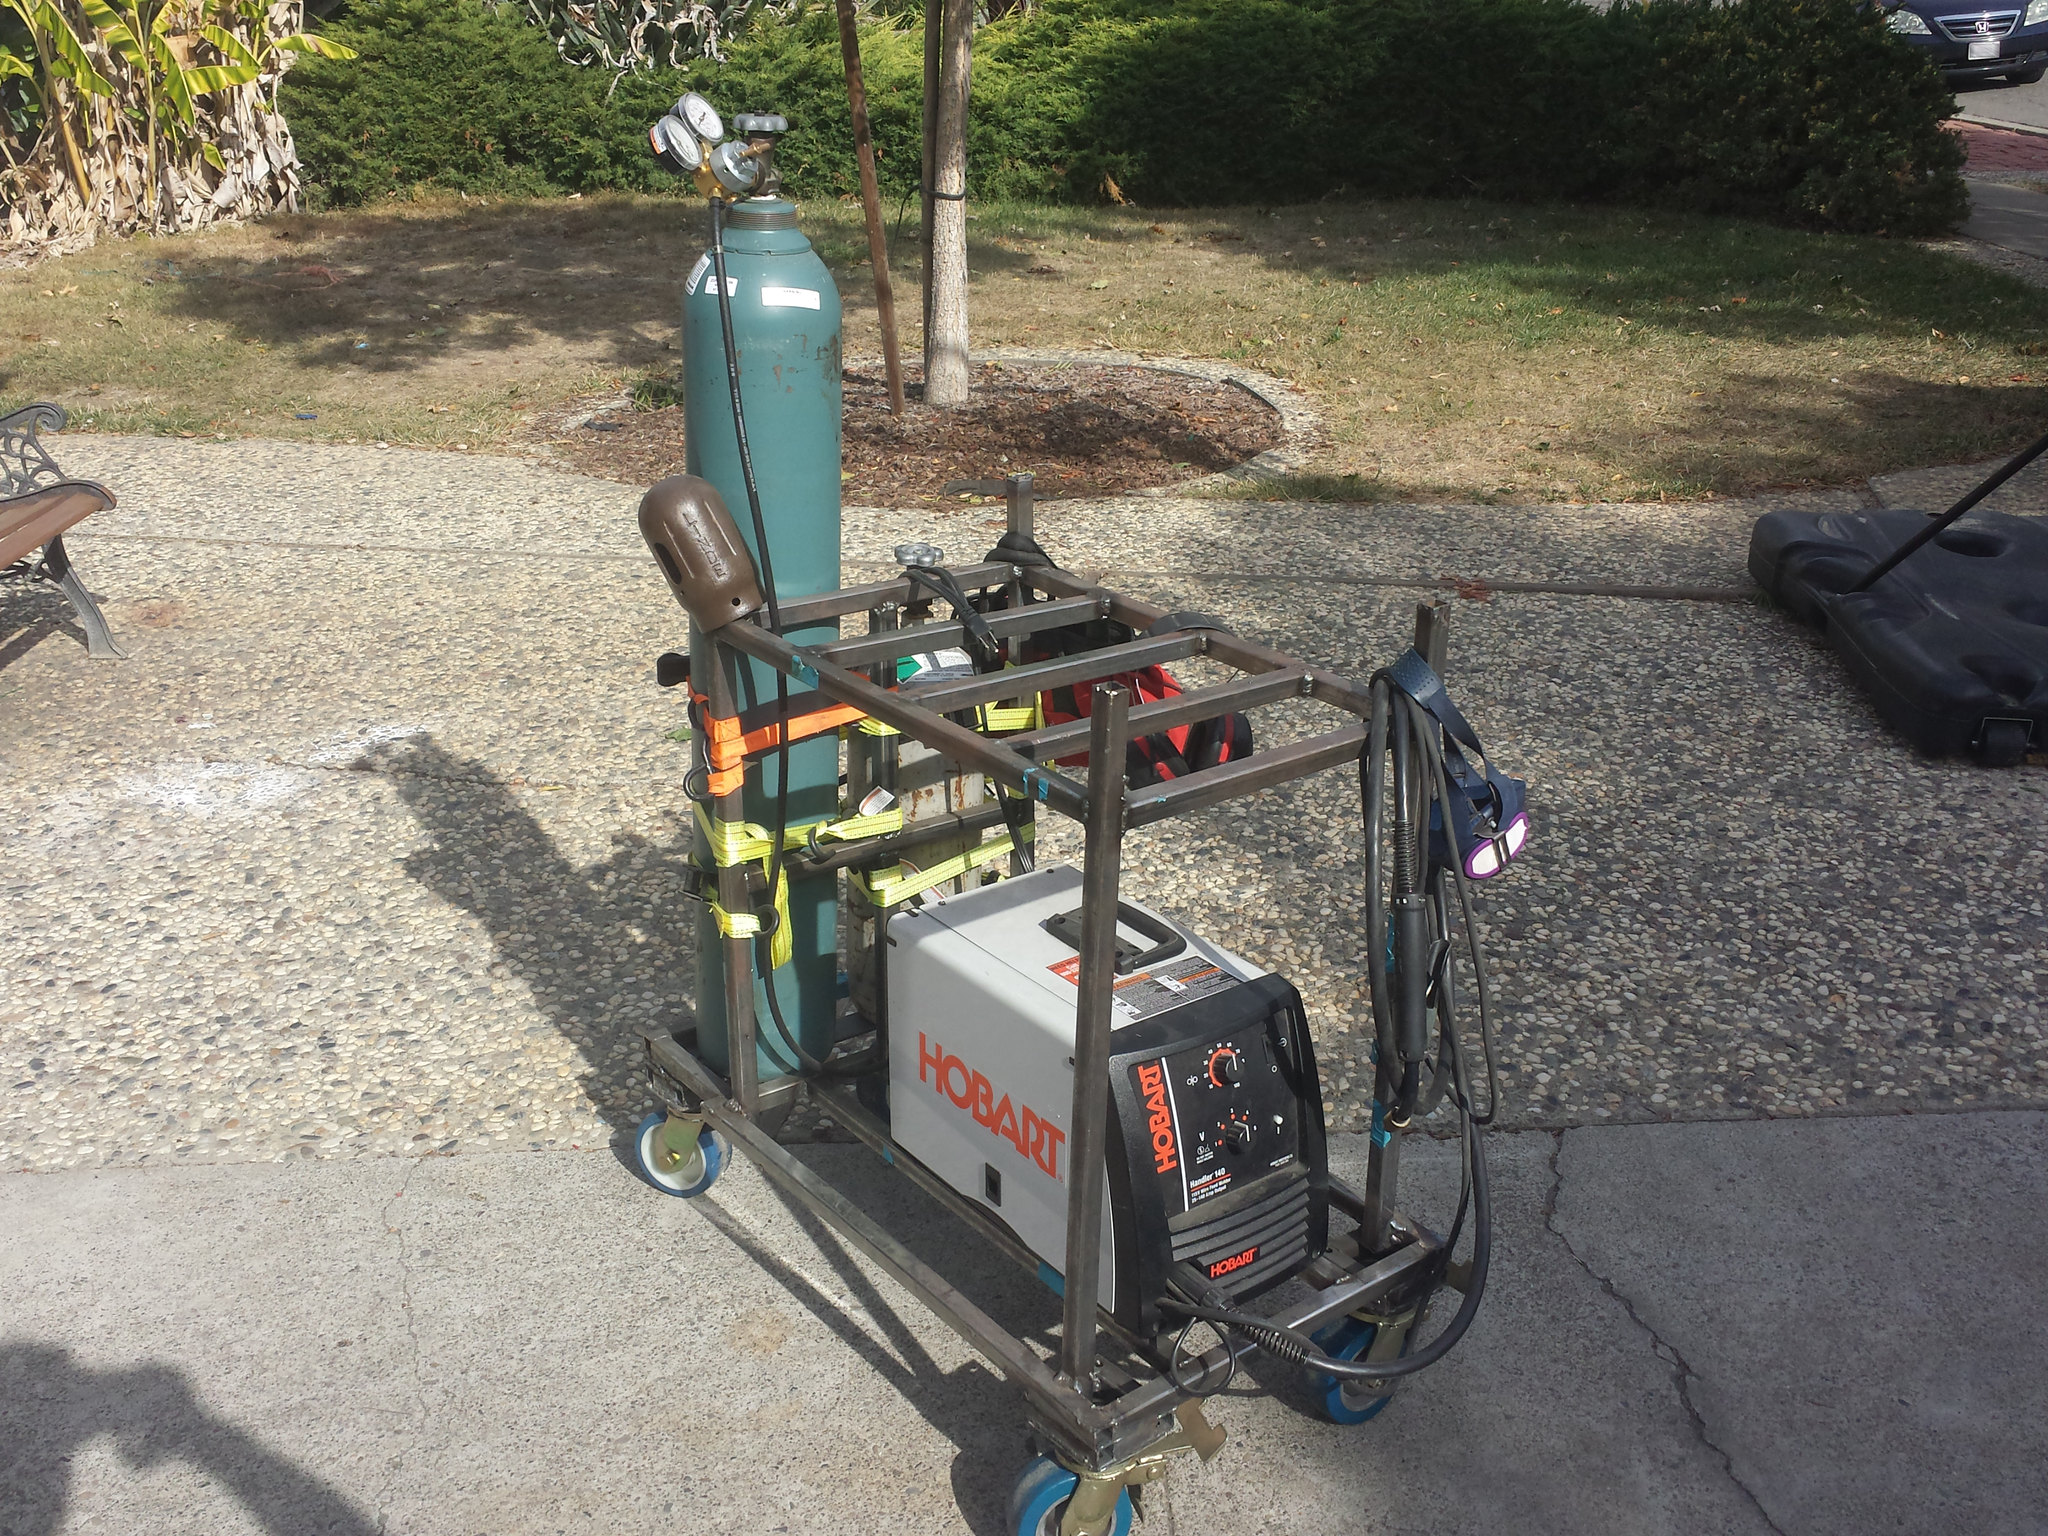
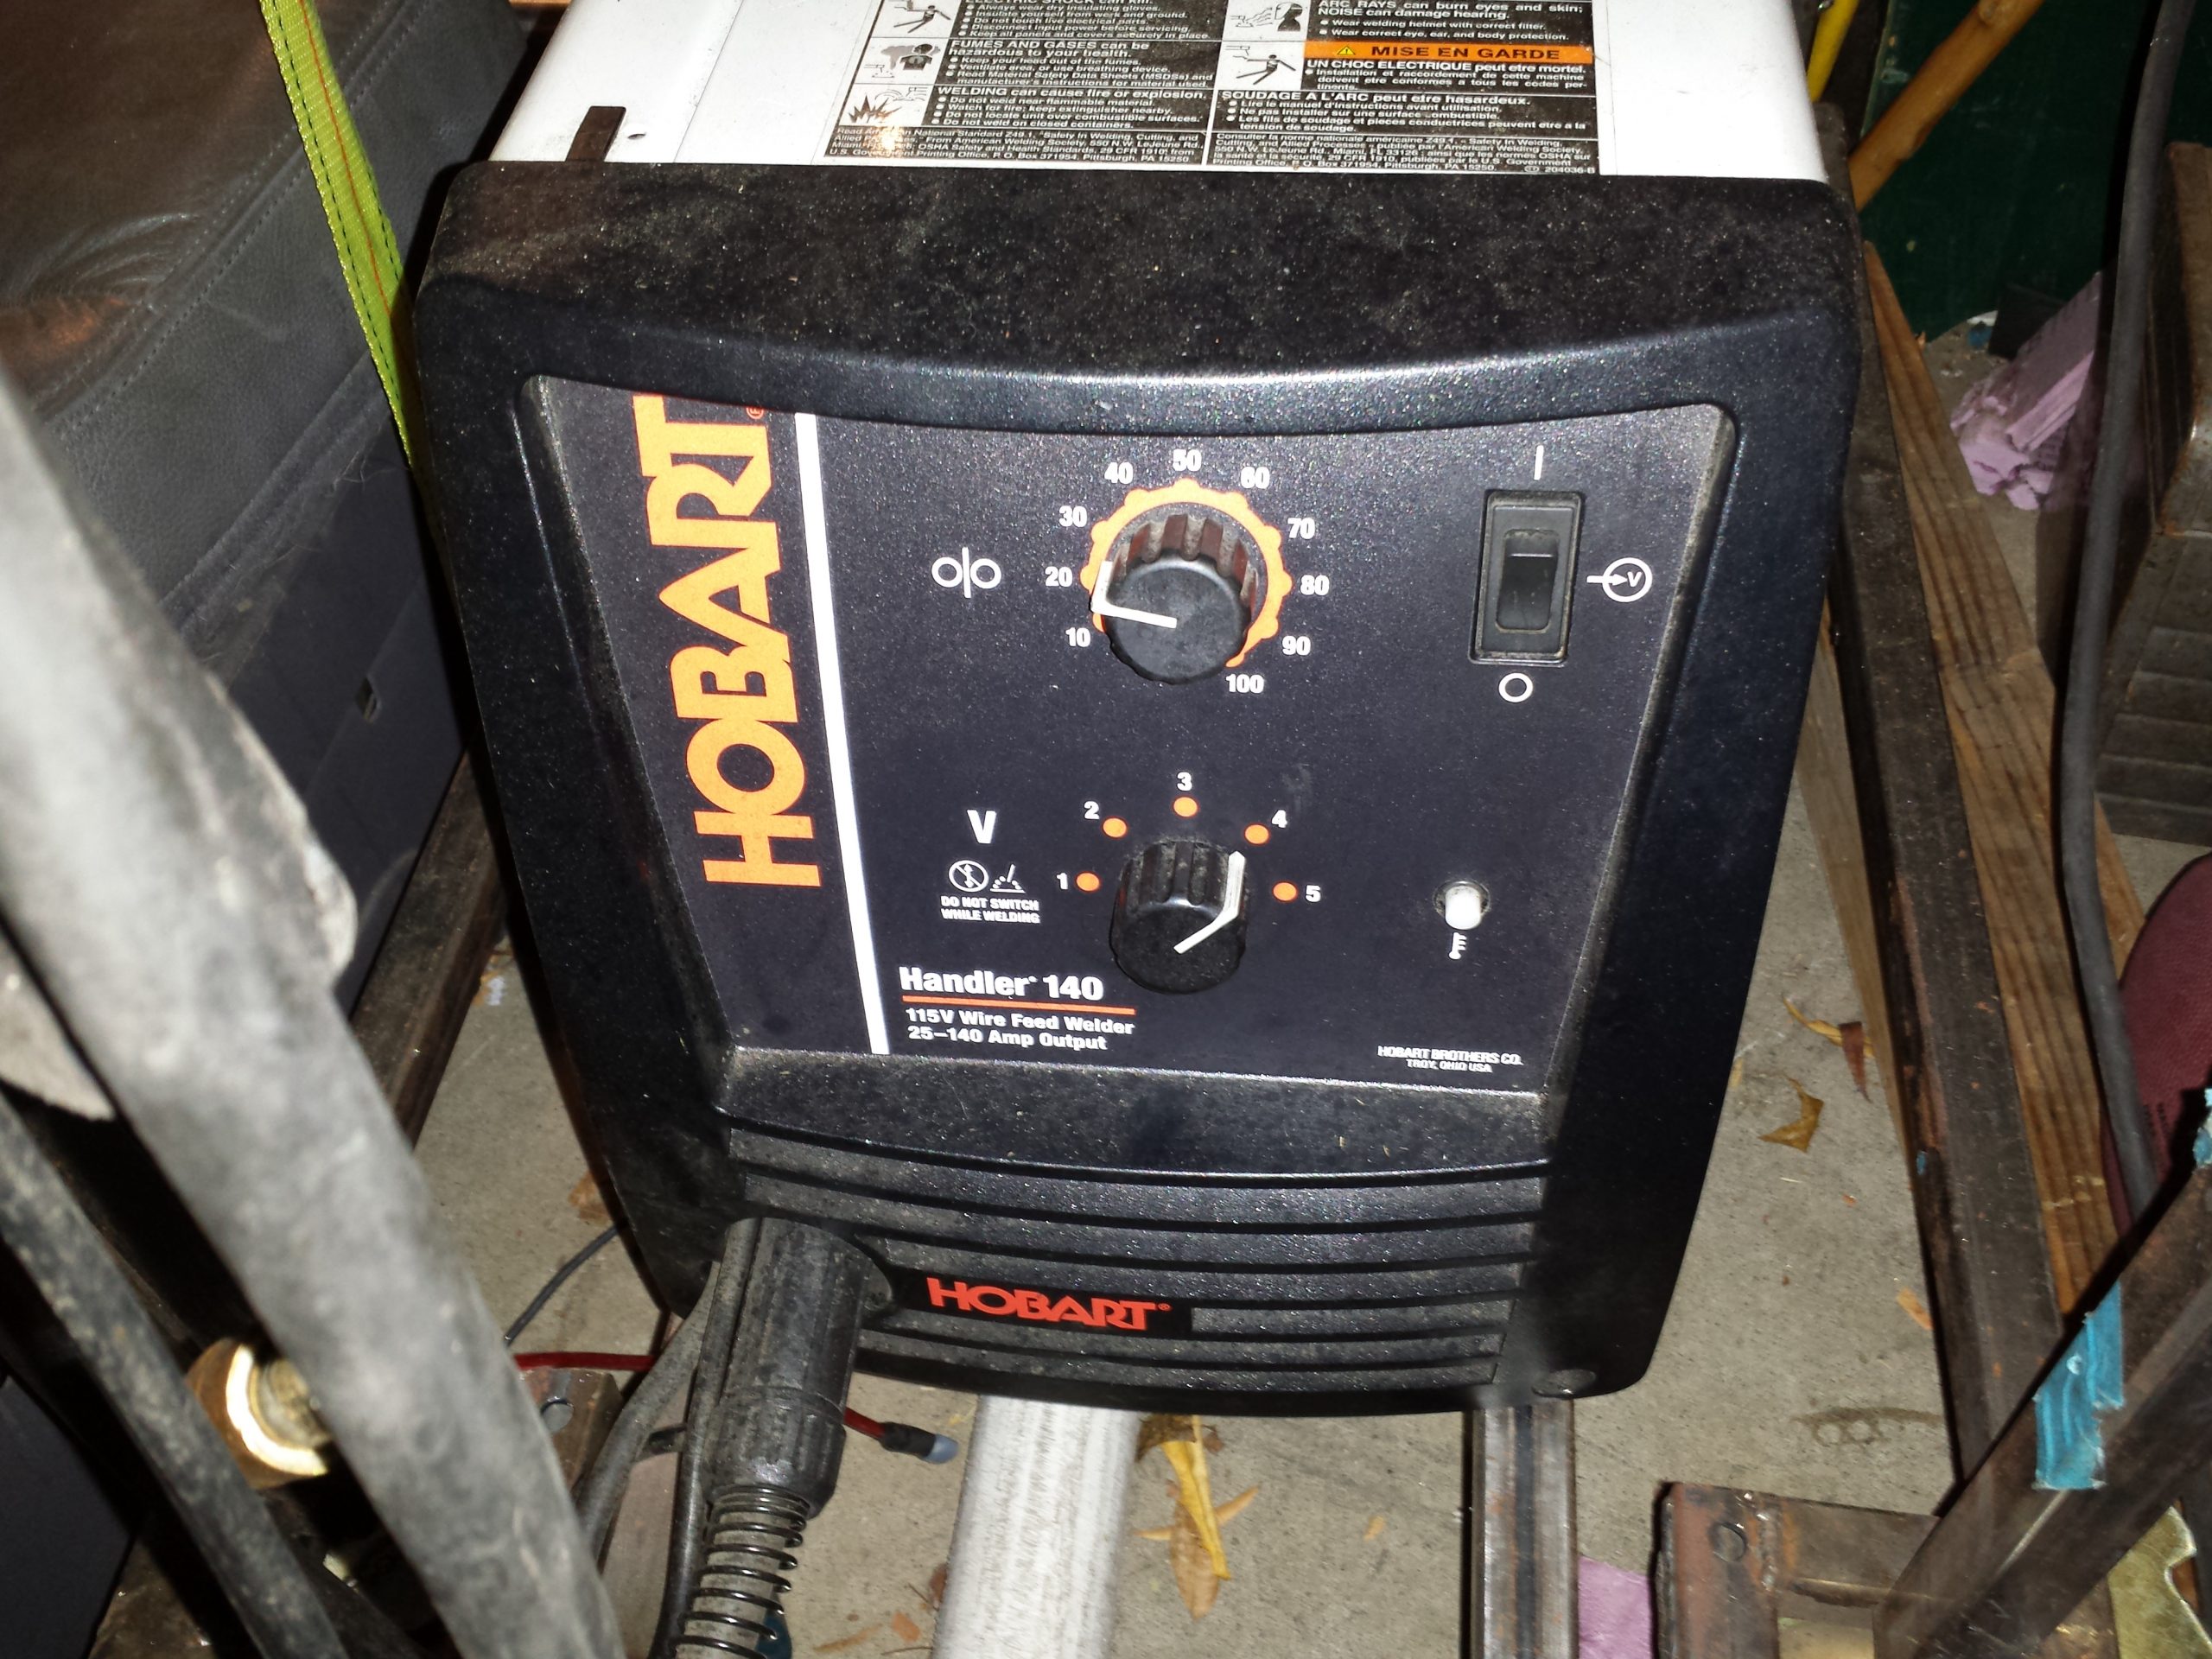
The next day was much different. I swapped out my 125 cu. ft. 75/25 cylinder for a brand new 155 cu. ft. cylinder filled with 100% argon. Once I got everything hooked up the welder performed flawlessly. It turned out that I forgot the flip the last switch on the control panel of the welder to foot pedal mode so it was operating as if I was using the torch controller.

The foot pedal was finally working and the arc was not going crazy. However, my welds were still not turning out tool well. I had a nice, relatively uncontaminated tungsten ground to a nice sharp point, as well as, a clean work piece. However, my “welds” were not looking all that great and they had lots of pinholes in them. I decided to get up and take a little break thinking that it might help me to refocus myself later, hopefully resulting in better welds. The trick that I found after watching many tig welding videos online is that you have to be comfortable. That was the one thing that I was not doing.

I was sitting on a stool that was a little too high for the table I was working on. I decided that I was going to either have to cut part of the chair legs or use something else. I decided that the fastest and easiest way to solve my problem would be to just pull in Roberto the Robot and use him as a seat. The results were outstanding! My welds actually looked semi-decent, something that I had not experienced in the past. I guess the biggest tip that helped me improve my tig welding capabilities was just to be relaxed and comfortable, at least to start off. It also helps to have the right kind of gas connected to the welder if you want anything resembling a non-hippie weld. While running the AHP Alphatig 200x on 120 volts I was able to produce some pretty good looking welds after watching many of Chucke2009 and Mr. Tig videos on Youtube. Below is a review of the AHP Alphatig 200x by Mr. Tig if you were looking for a second, more professional review. However, for the average homeowner who just wants to expand his or her welding capabilities, the AHP Alphatig will definitely give them a good start.

Posted by admin, 0 comments

Build Season is Coming Video

Two Days ago we published pictures of the welded square tube steel stating, “Build season is Coming” and then, “Build Season is Here”. Today, however, we have a video of all the steps it took to make it. Except who wants to watch an hour of production when you can see it in a minute!

Merry Christmas and Happy New Year


Posted by admin, 0 comments
Build Season Square Tubing Intro

Build Season Square Tubing Intro

Today we welded some square tubing together for an intro video. As the pictures show it first says, “Build Season Is Coming”, it then switches to “Build Season Is Here”. 

Build Season is Coming!


Build Season is Here

Posted by admin, 0 comments

Axial Exo

Here Will does a review of his Axial Exo RC car


Posted by admin, 0 comments

Camera Slider

Today Will created a camera slider out of pvc pipe and plexiglass.


Posted by admin, 0 comments

Homemade Welding Cart

I made a welding cart about 3 months ago but I never got around to posting it here. Granted this website has only been online for 3 weeks. Nevertheless, here is a picture of it.

20141015_151524

Posted by admin, 0 comments

Milwaukee Dry Cut Saw Review

The Milwaukee Dry-Cut Machine Model #6190-20

Today I did a video review of the Milwaukee 6190-20 dry-cut saw. I have had the saw for about a year and have completed many, many projects with it. "Roberto" from the "Robots" section of this website was built using the Milwaukee dry cut saw and the Hobart Handler 140 Mig welder. Although I can't say that he was entirely built using that saw because when I started out I actually didn't have a chop saw of any kind so the frame for "Roberto" was actually cut with a 4.5" Milwaukee angle grinder. However, once I worked more and more on Roberto as well as other side projects I realized the criticality of having a good chop saw. Therefore, I purchased the Milwaukee 6190-20 dry-cut saw. I was going to purchase an abrasive saw, but after considering the cost of the abrasive wheels vs the carbide tipped blade, I concluded that it would probably be more economical and less frustrating to purchase the more expensive dry cut saw over the abrasive saw. With the dry -cut saw there is very little to clean up after the cut, and the cuts are cool to the touch…most of the time. Without the need for more grinding, efficiency increases, and my stress level decreases. Even though the blades for the dry cut saw are expensive they last a long time. I have built a welding cart, a little trailer for by robot, and have sliced numerous 2x4s with the original Milwaukee Endurance blade over the course of a year and just now am I starting to realize that it may be starting to dull due the larger amount of sparks it is putting out. However I have also been hearing rumors that they have taken the saw off the market due to low demand. Others say that it is because they are improving it by making it more robust. Overall, the machine is pretty robust, however, the clamping system is not very good and it slips under a medial force.


Posted by admin in Tool Reviews
Hobart Handler 140 Review

Hobart Handler 140 Review

Hobart Handler 140 Review

Hobart Handler 140 Review Have you ever broken a shovel? Or maybe a wind chime? Or wanted to start a little fabrication project but didn't want to have to take out a 2nd mortgage your house just to start welding? Well if you want a reliable welder that offers the most power in its class, while only plugging into a regular 110-volt household outlet the Hobart Handler 140 is for you! It is not a cheap import welder that will last you two days, it is manufactured in the USA and owned by the same company that owns Miller Electric, a world-renown welder manufacturing company. The Hobart Handler is a fantastic MIG welder for the price. With 115 volts, you can build many, really cool projects.

I am not a professional welder by any means but I have had the welder for almost two years, however, I have had very few, insignificant, problems. The package comes complete with the power supply and integrated wire feeder. It also comes with a CGA580 gas regular meant for the flow of the common MIG shielding gas, 75/25. The gas is composed of 75% argon and 25% CO2. Another commonly used gas is pure CO2. It is typically cheaper than 75/25 and it delivers more penetration. However, the final welds typically do not deliver the same appearance that 75/25 offers. The major project that I used it for was “Roberto”, the robot that looks like a table with wheels. However, it is a very heavy table, it weighs in at about 200lbs. More information about it can be found on the robot page of this website. When I started with it I used the Hobart .030 flux core wire. It lasted about two days until I had to go to Home Depot to get another 2lb spool. The second spool was Lincoln Innershield wire and it has worked just as well as the Hobart wire. Since then I have gone through quite a bit of a 10lb spool of flux core wire as well as another 10lb spool of solid-core .030 wire.


Talking about solid wire brings me to my other topic which is using the welder as a true MIG welder, not a flux core welder. Once a started welding I knew that I wanted to upgrade to a gas setup at some point. However, looking at the prices for a new gas cylinder online always deterred me. They would be over $200 for a medium-sized 125cf welding cylinder. I was hesitant to purchase a smaller cylinder because I knew that I would get more “bang for my buck” I if a bought a bigger cylinder. However, if you look at Craigslist sometimes you can find some pretty good deals on cylinders. However, when buying cylinders it is important to make sure that the welding cylinder doesn't have the name of any welding supply company on it. These cylinders were probably part of a lease and were never returned to the supply company. Therefore, buying cylinders from the individual selling them could very likely be illegal. Therefore, when buying cylinders be sure that there is not name extruded on it. If there is a name that is engraved into it the cylinder is probably fine but if at all possible it would be best to find a cylinder that has no markings on it. If there are no markings on it then there should be no dispute between you and the welding supply company regarding the ownership of the cylinder.


When welding with flux core wire the weld puddle is normally a little bit harder. So, if you have a thicker piece of material that is going to need more amps, flux core wire might solve that problem. However, If the part that you are welding is structural, and you do not feel confident in your welds, it would be very advisable to have the welds done by a professional welder with the right equipment. Or, if that is not a feasible option it would probably be a good idea to stop the project, or even better, don't start it! The reason why I mention this is because if you are making a trailer and your welds are cold, possibly due to inadequate power settings or some other issue, and they fall apart on the highway at 55 MPH and cause damage to other cars, or even worse, people you will be liable. Even if you manage to escape legally, it would be hard for many people to live with the fact that a project they made caused injury or even death to someone else do to something so silly as cold welds or some other issue.


The Hobart Handler 140 gives you a very nice “bang for your buck”. From little fixes around the house to light fabrication projects the Hobart handler is truly a very versatile welder. With gas, the welder is even better, gas gives you the chance for much cleaner welds, and far less spatter. However, even if welding with gas is not in the near future, the Hobart Handler 140 will give you the chance to fix many little projects around the house and even start some light fabrication projects.

Posted by admin in Tool Reviews