Current Projects
CNC Plasma Cutter Build Notes
Just some random notes about the setup of my CNC Machine.
Diameter of AHP Alphacut 60 Torch PT-60 (Red plastic part just above nozzle)
- 1.2955″
Mach 3 Settings:
- Z-Axis
- 40,000 for “steps per”
- 37.5 for “Velocity In’s or mm’s per min”
- 7.2175 “Acceleration in’s or mm’s/sec/sec”
CNC Plasma Cutter: Part 2
Update 8-8 -17
I managed to fix the X-axis trolley to reduce both the wobble of the carriage as well as increase the accuracy of the cuts. I replaced the loosely-fitting cotter pin with a snug machine screw and there is currently no noticeable slop during the dry runs I have done tonight. I will do more testing tomorrow.
Here are some videos of it in action (before the fix)
CNC Plasma Cutter Build
Building a CNC Plasma Cutter
Update 8-4-17
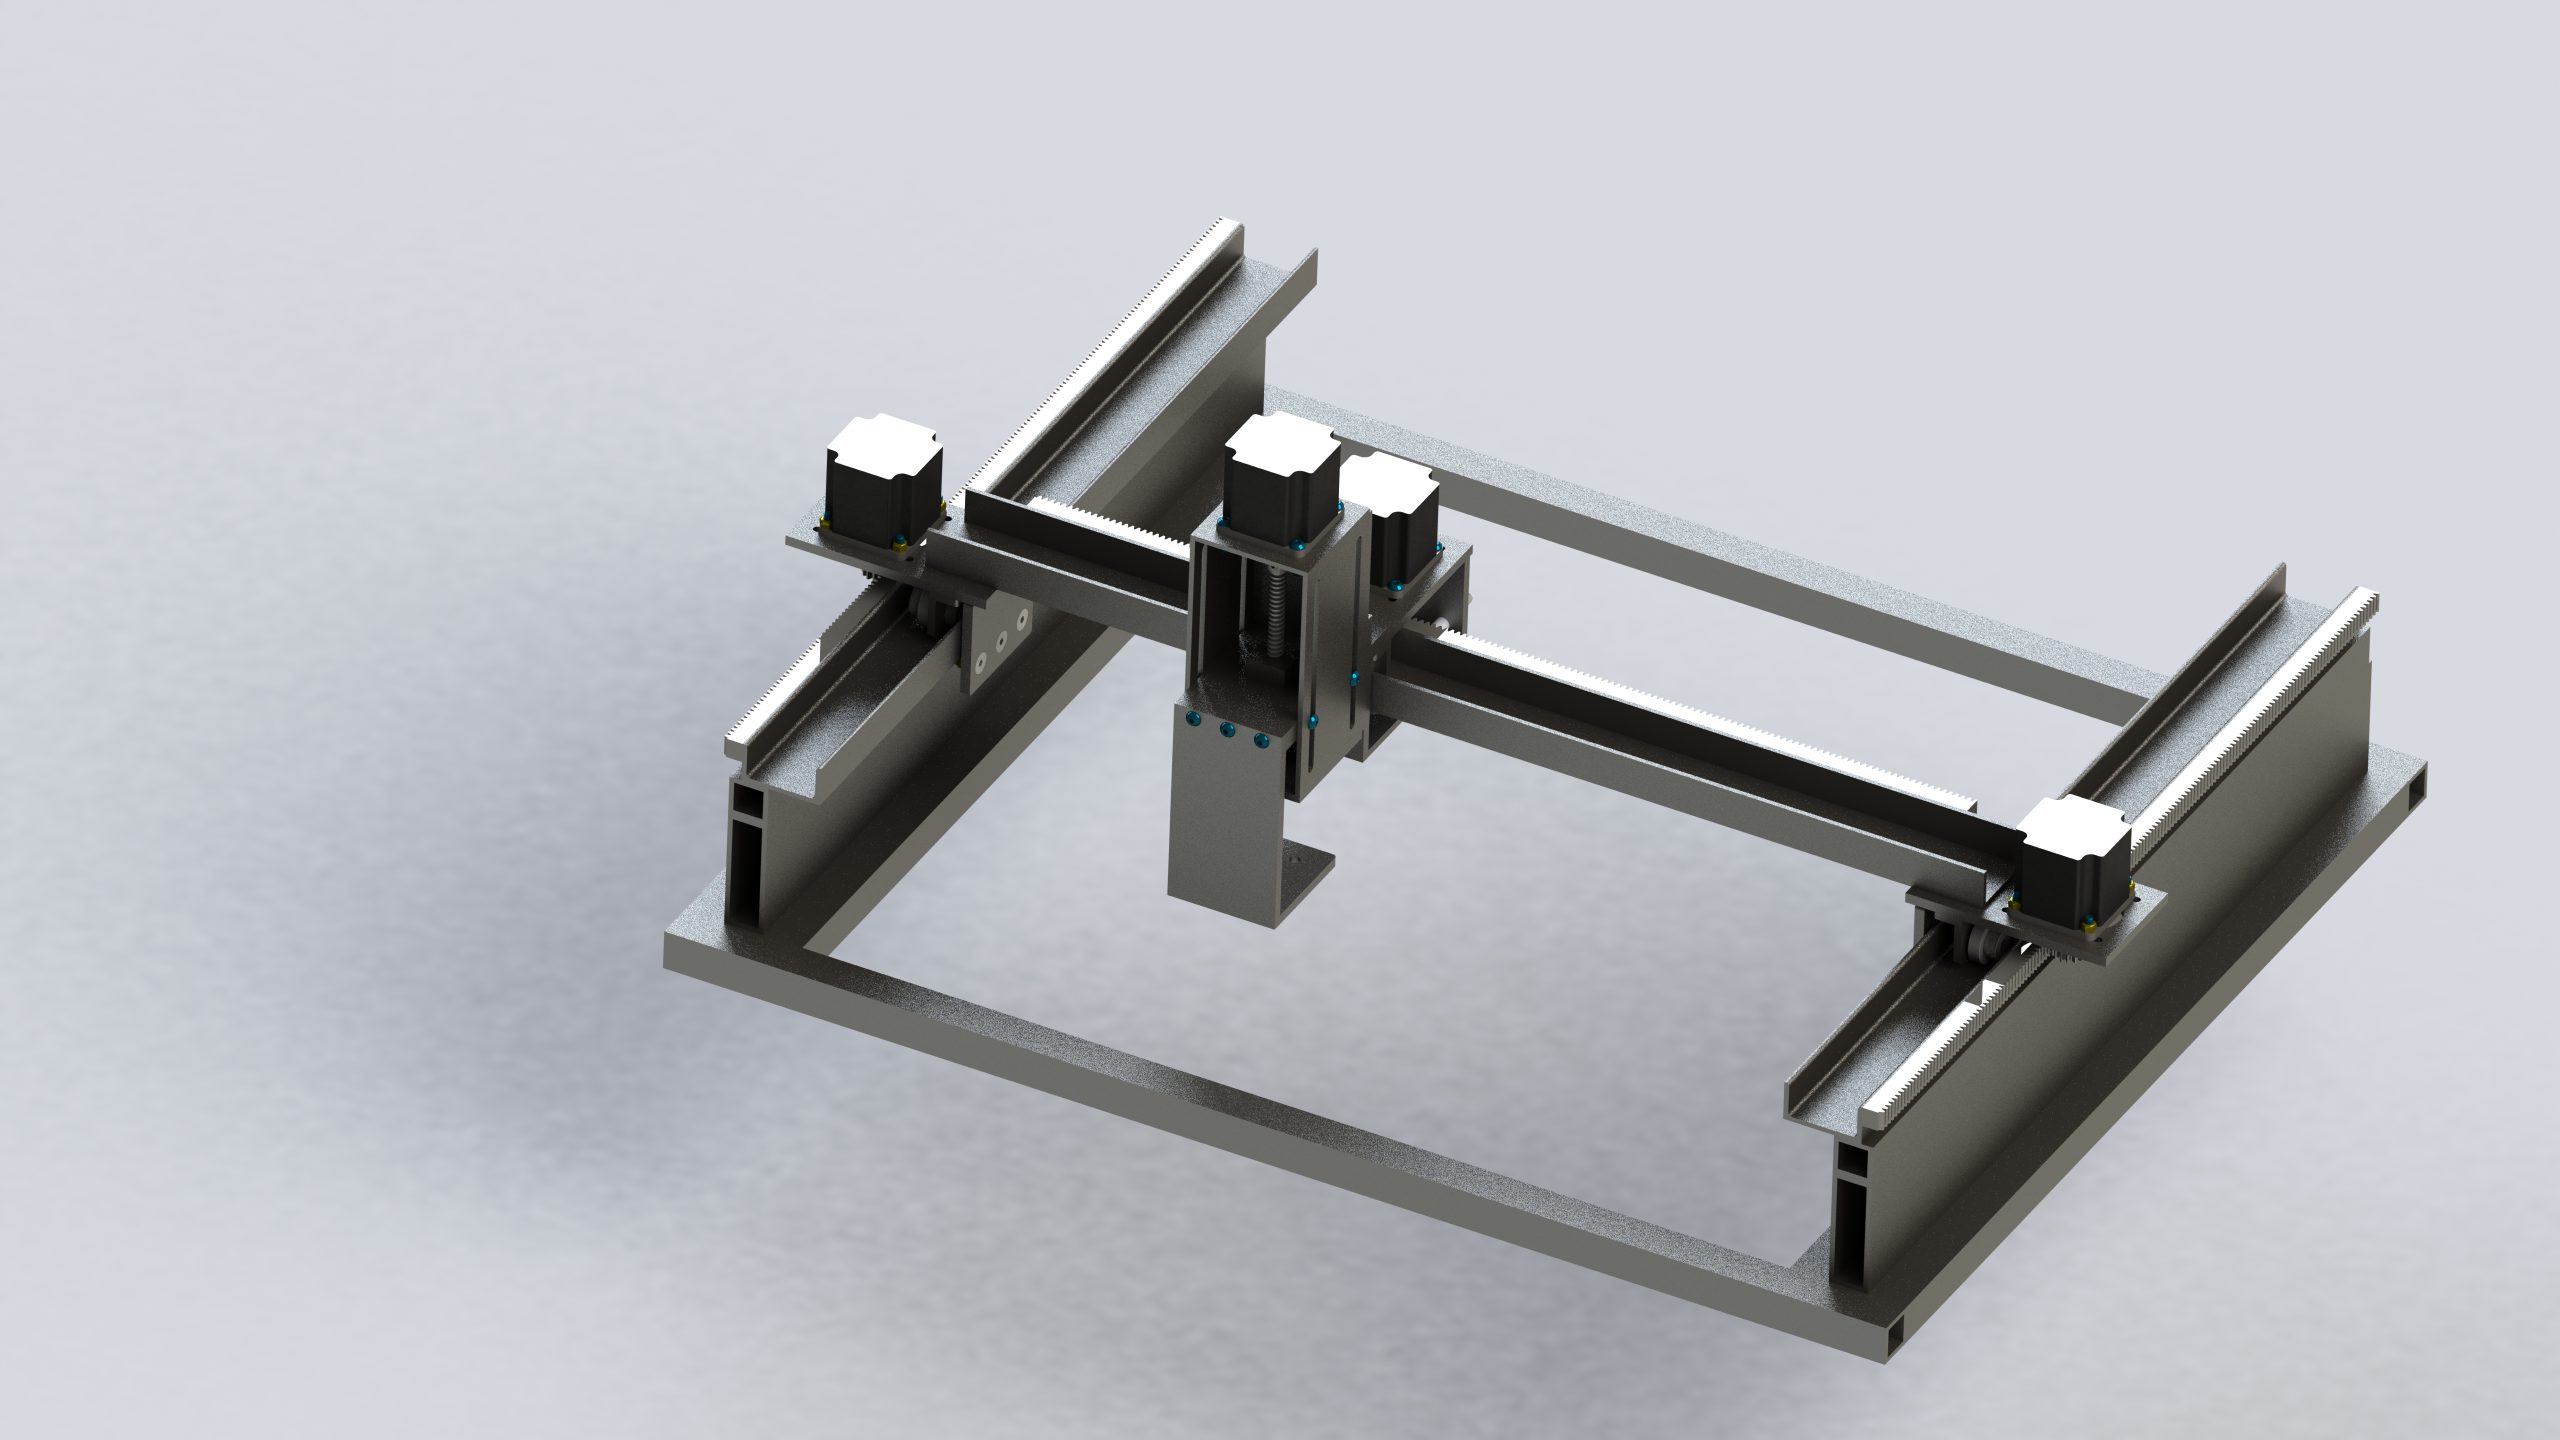
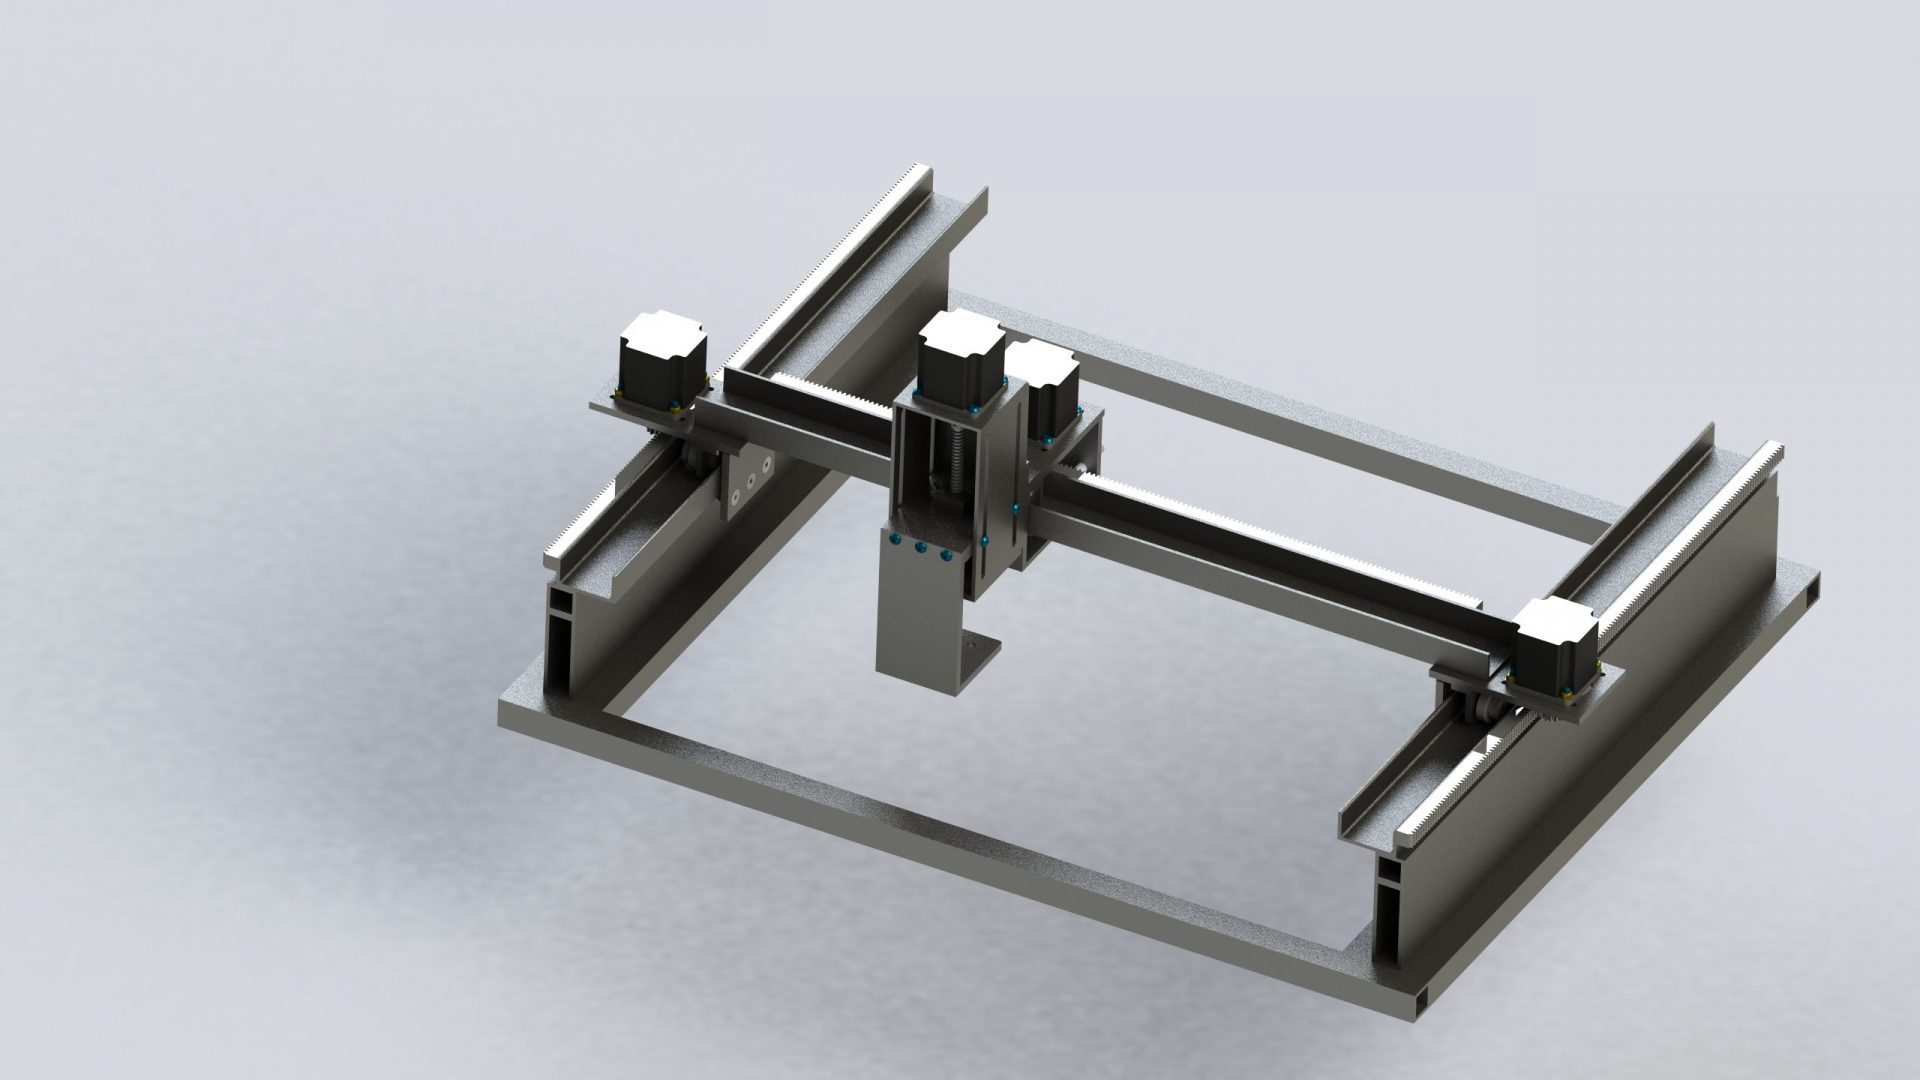
After putting this project on the sideline for over a year I can happily say that it now works.I am still learning how to use the cam software so I have only been able to cut out squares. However, these squares are accurate to a 1/16″ and have little dross on them. The material used for these squares was 22 gauge steel sheet. However, the material thickness is really only dependent on the power of the plasma cutter. I am still learning how to use both Mach3 and SheetCam so hopefully, I will be able to cut out more complicated parts in the near future. I am also planning on making a cnc tubing coper that will hopefully debut in the near future.
For the time being here is CAD render of the CNC-Plasma-Cutter

——-End of Update——
Slashing through steel, aluminum, and or any other material that conducts electricity while keeping relatively tight tolerances is the end goal for my prototype CNC Plasma Cutter. After spending about of month working on a CAD model for the machine the building phase is ready to begin!
My current setup should allow me to cut through ½” steel and 3/8” aluminum relatively reliably using an AHP Alphacut 60. The current frame allows for a roughly 21” cut area with the ability to fit a piece of material that is 27” wide in the cut bay. The ends of the machine are open allowing for pieces that are much larger than 2ft in length. With open ends, I figured that I would have the ability to buy longer pieces and then I could in index my parts and keep cutting if I had a really large cut. The machine itself is largely made of square tube, c-channel, and flat bar. I was also able to get most of that material as scrap to keep the cost down. Below are some build montage videos. Enjoy!
Spacer Calculator
Need to know the distance between multiple parts over a fixed distance?
The spreadsheet below should help with those calculations.
Good Luck!
Making a Motor Mount for the Predator Engine
Mounting the 6.5 horsepower Harbor Freight engine to the top of the robot produced a lot of vibration and made it extremely difficult to remove the engine. Therefore, I decided to make a separate motor mount that could be detached with 4 5/16in bolts. Below are videos documenting the build process as well as pictures (through the link). Feel free to copy the design but do so only at your own risk!. Happy Building!


 Users Today :
  This Month :
  This Year :
  Total Users : 249813
Recent Comments