Uncategorized

Making a Tubing Die

Making a Tubing Die

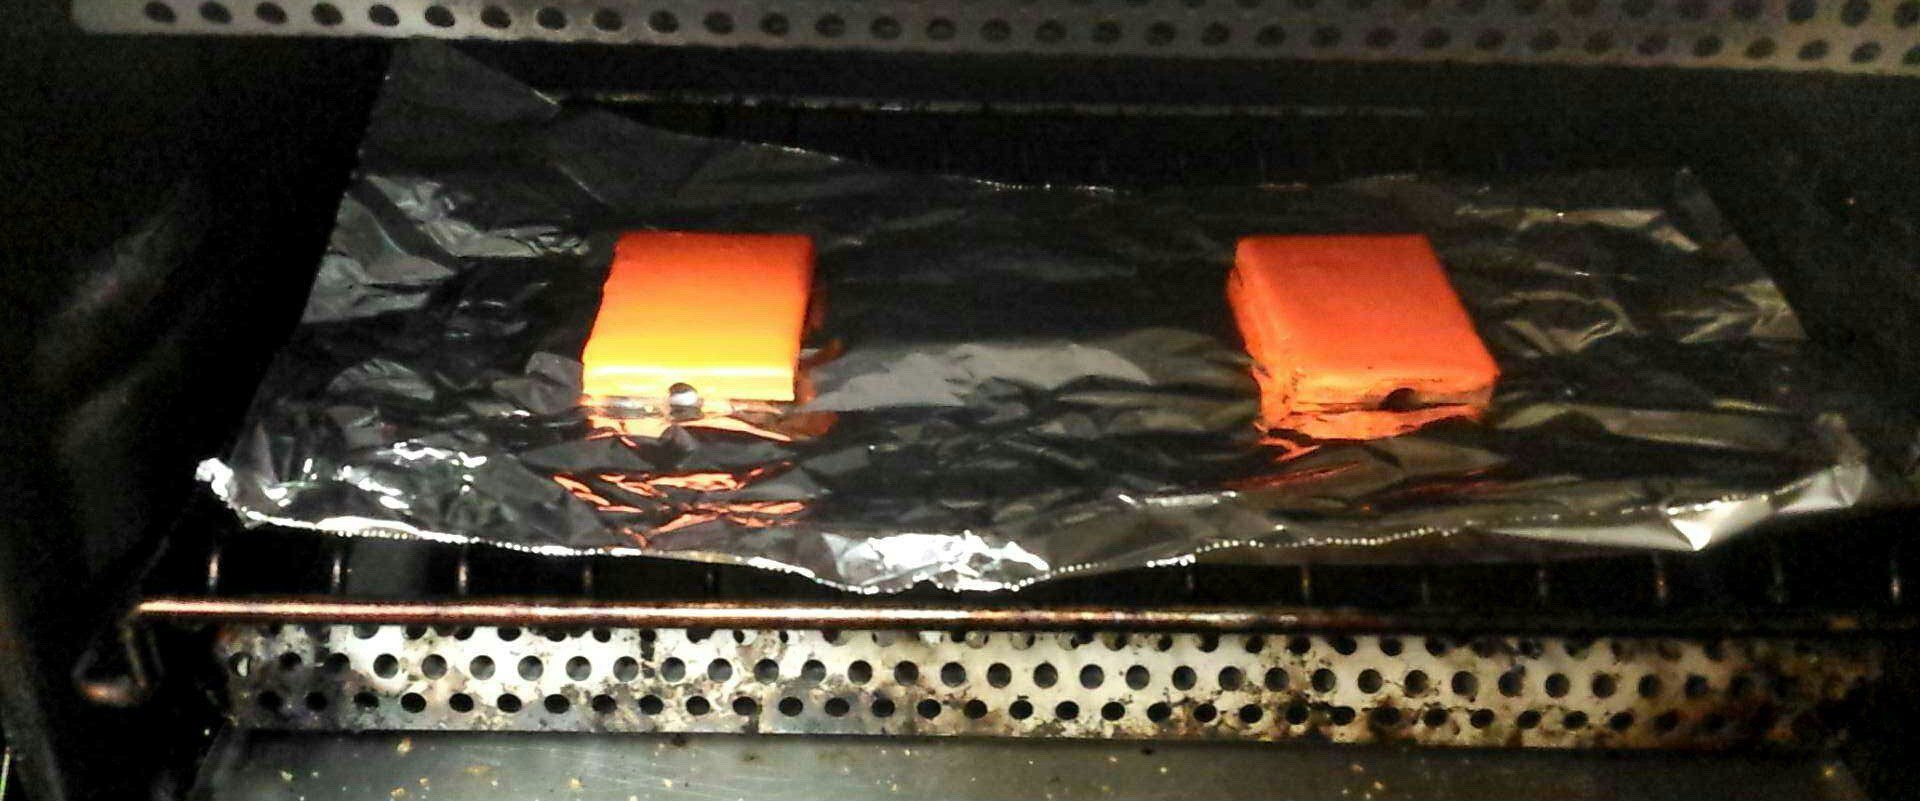
Today, I put together a tubing die. The idea behind it is that you heat up both ends of the tubing and then smash the two metal plates together and the tubing is supposed to fuse together and form a solid connection… Well, that is the idea anyway. 

Here is a video of the build process:


Posted by admin, 0 comments

Helpful Links

  1. How to limit the amount of bandwidth Rsync uses:
    1. http://www.howtogeek.com/50794/keep-rsync-from-using-all-your-bandwidth/
  2. How to Find the largest files on your Linux system:
    1. http://www.cyberciti.biz/faq/how-do-i-find-the-largest-filesdirectories-on-a-linuxunixbsd-filesystem/
  3. How to limit program usage on a Linux server:
    1. blog.scoutapp.com/articles/2014/11/04/restricting-process-cpu-usage-using-nice-cpulimit-and-cgroups
  4. Export and Import a Docker Image Between Nodes
    1. http://www.jamescoyle.net/how-to/1512-export-and-import-a-docker-image-between-nodes
  5. CrashPlan management via a remote computer using X11 forwarding (easy)
    1. http://www.benwagner.net/computing/installing-crashplan-on-headless-server-x11-forwarding/
  6. Allowing “Allowfullscreen” in Drupal
    1. https://www.drupal.org/node/2347645
  7. How to reset your mysql database password
    1. https://www.howtoforge.com/setting-changing-resetting-mysql-root-passwords


Posted by admin, 0 comments

Robo Scrubber

Want a cool project to build during the fall? Hate sweeping leaves and or scrubbing concrete? Have some extra steel and possibly a motor laying around? If you want to save some time and have some fun build a Robo Scrubber! In the video above you will see how I built mine. Enjoy!

If you want a direct link you can click the following: https://www.youtube.com/watch?v=DIpJTJcIPY8 or you can click the “youtube” button once you hit play.

Happy Scrubbing and Sweeping!

-Henry

Posted by admin, 0 comments

Monthly Transfer Rate Calculator


Enter your transfer rate in kilobytes per second using the blue form below

The final amount transferred in GB is shown in the box below.

You must retype the upload rate number after each calculation in order to proceed with another one if you are doing multiple calculations.

Posted by admin, 0 comments

Happy Halloween!

Happy Halloween Everyone! Here is a little video to “brighten” your day. Enjoy!


Posted by admin, 0 comments
Using Owncloud With CloudFlare

Using Owncloud With CloudFlare

        In the last article, we discussed the option of using Cloudflare for free SSL, DDoS protection, and so on. While configuring CloudFlare they give you the option to use their new tool called the Rocket Loader™ which speeds up page loading times, but can also cause problems with when loading interactive Javascript applications such as Owncloud. When Rocket Loader™ is enabled it can speed up webpage loading times but the speed difference is nominal compared to it being off. However, the Owncloud login page was broken after enabling Rocket Loader™. Upon arriving on the page, the login button was already depressed even though no information had been entered into the login form. A quick fix, and the only fix that I know of for this is to turn Rocket Loader™ off, and then dump the cache. After that the login page should become usable again. Hopefully, this helps!


Posted by admin, 0 comments

Free SSL, CDN, and DDoS Protection from Cloudflare!

       Have you ever wanted to secure your website with SSL to protect it and its users from MITM (man in the middle attacks)? Or increase your load times from different parts of the world? Well now you can for a whopping cost of $0. That’s right for free!

       Ok, enough with the sales pitch if you want to do all of the above use cloudflare.com. CloudFlare hosts tons of websites ranging from first websites to websites with millions of users. The free plan provides you with basic DDoS protection, a CDN (content delivery network), a free SSL certificate, and much more. DDos protection will protect your website from crashing due to a high influx of users either created by hackers or innocently by people who just want to view your content.

      The setup is relatively simple as you just have to go to cloudflare.com, create an account, add your website, and then transfer your nameservers for your domain to the ones that will be provided by CloudFlare. It says that it takes a few hours to transfer your domain, but it really only takes a couple on minutes. Once it is all synced up you will be able to configure your server from the control panel. 

Here is a simple tutorial from Digital Ocean on how to integrate CloudFlare with a Digital Ocean Droplet: https://www.digitalocean.com/community/tutorials/how-to-mitigate-ddos-attacks-against-your-website-with-cloudflare 

Posted by admin, 0 comments
Changing the Owncloud Login Logo

Changing the Owncloud Login Logo

Hello Everyone!

Today, we are going to change our default Owncloud logo from the one shown below:


  1. First, go to your Owncloud folder on your server. If you are running a default Owncloud instance on Ubuntu with Apache as the webserver the default path would probably be:

/var/www/html/owncloud

  1. Once you are there go to the core folder and then the img folder.


  1. You will find two files that you want to change. There is a logo.png and a logo.svg file.
  2. Simply upload your own version of the logo.png and the logo.svg file and you will have successfully changed your logo. (Note: If you are having problems trying to convert your logo to a .svg it is not all that big a deal because I have found that if you just change one line of the css code you don’t need a .svg.​

  1. To change your logo from a svg to a png go to your main Owncloud folder.
    1. If you are running Apache on an Ubuntu Server your default Owncloud folder is probably: /var/www/html/owncloud (This is the same path that is mentioned above).

  1. Then go into your core folder.

  1. Then go into your css folder and open up the header.css file.


  1. On line 73 of the file you should find a line named:

background-image: url(../img/logo.svg);

  1. Once you are done change the line should look like this:

background-image: url(../img/logo.png); (Also as shown above)

  1. Once you have found this line change logo.svg to logo.png and save and close the file as shown above.
  2. Restart your Apache Server and you are good to go!
Posted by admin, 0 comments